The Back Story
The owner came to us with a Cape-style house they wished to demolish and rebuild. We worked with them in developing a perfect design, and then began construction.
Project Timeline
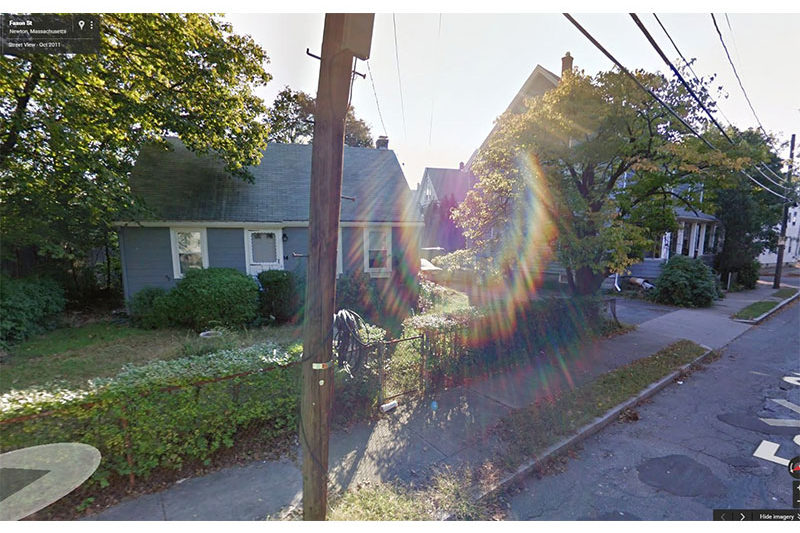
Street view of original house before the start of construction.
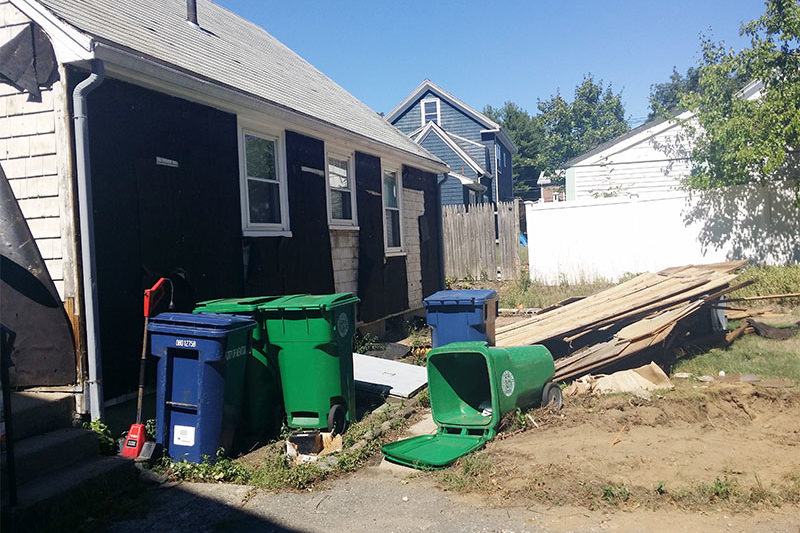
Work has commenced with the removal of house siding.
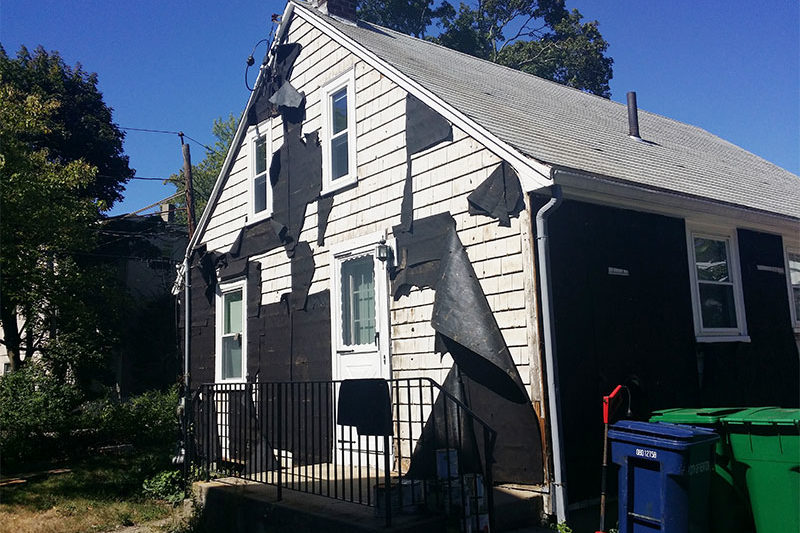
Demo of house siding.
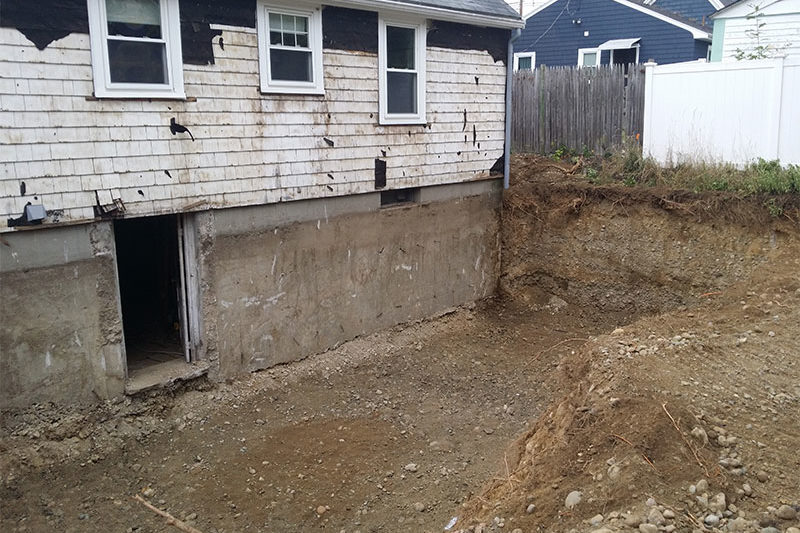
Excavation for extended addition in rear of the house.
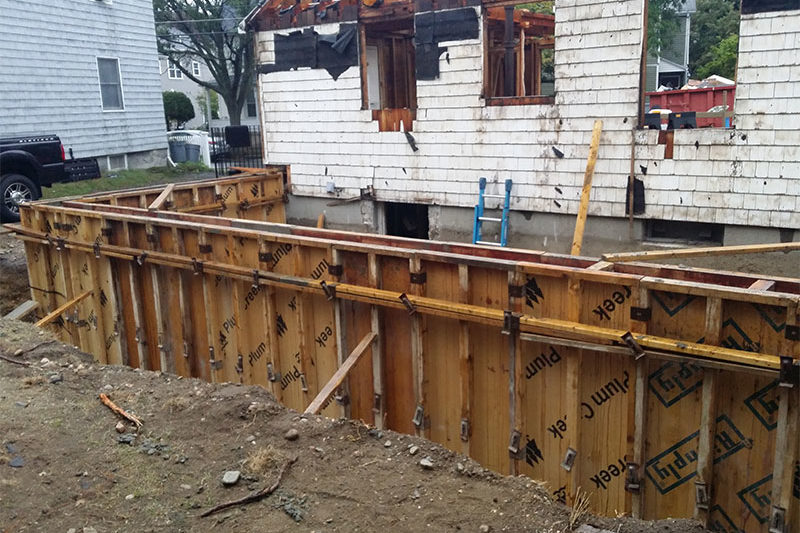
Original house continues to be demolished. Windows, front wall, and roof are gone. Forms are placed for concrete foundation and walls of extended addition in rear.
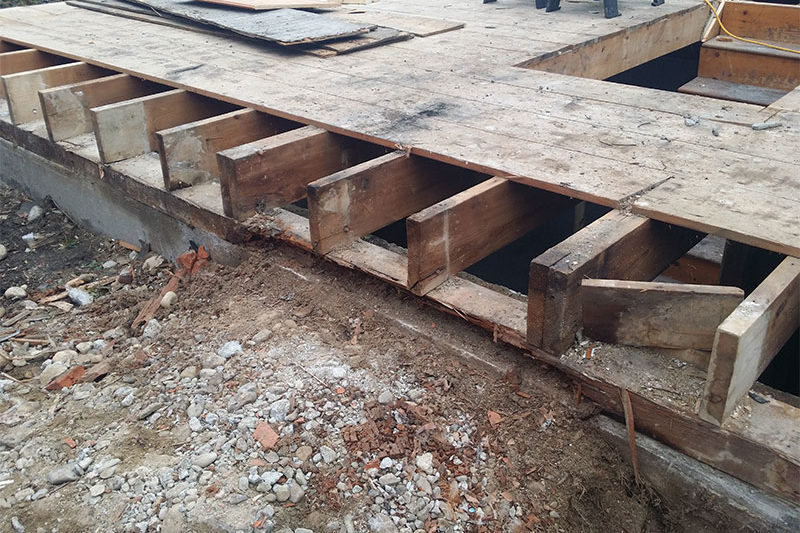
Demolition has leveled house down to sub-flooring and foundation, which will remain for new construction.

Demolition is almost complete.
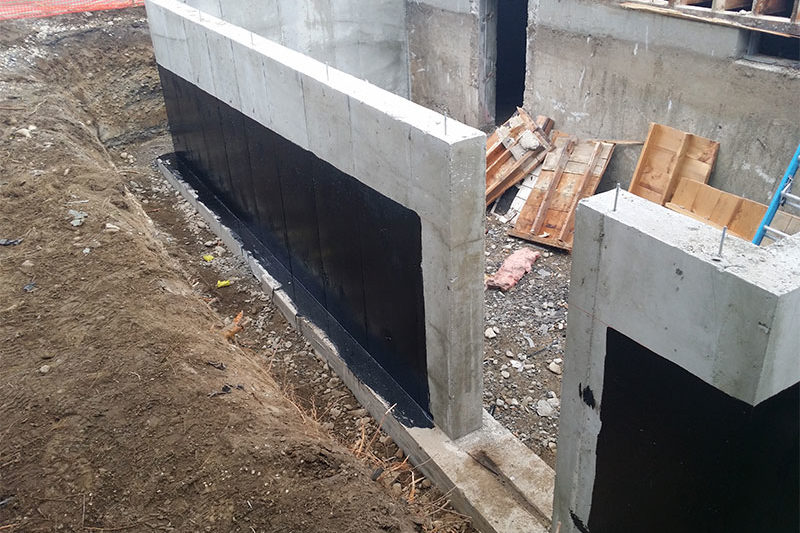
Extended rear addition walls have been poured and waterproofing applied.
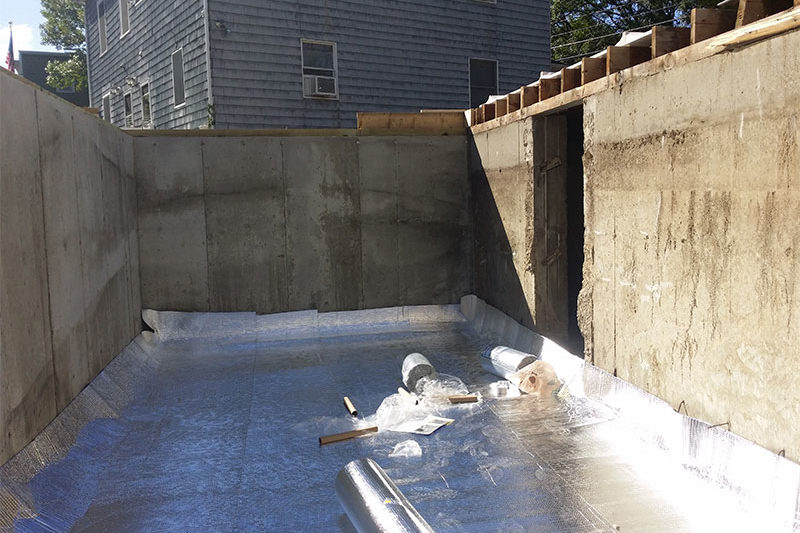
Insulation has been placed down in anticipation of pouring of the concrete slab.
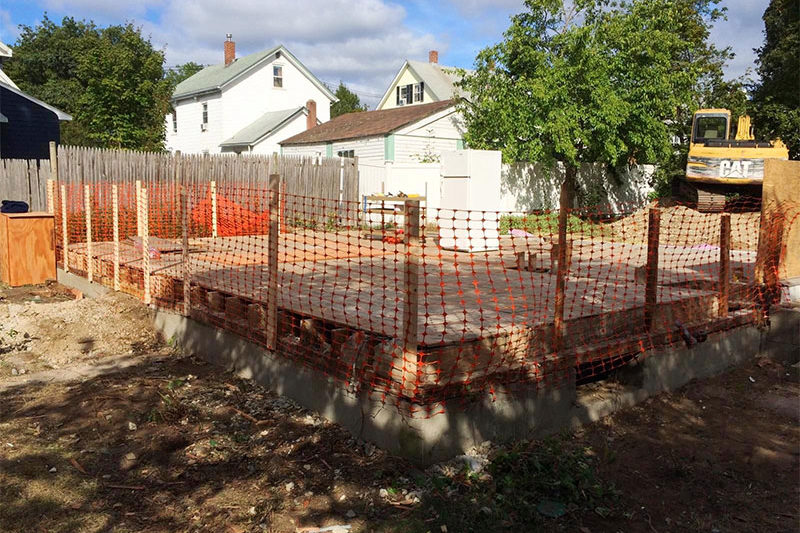
Demo work is complete with only original sub-floor and foundation remaining.
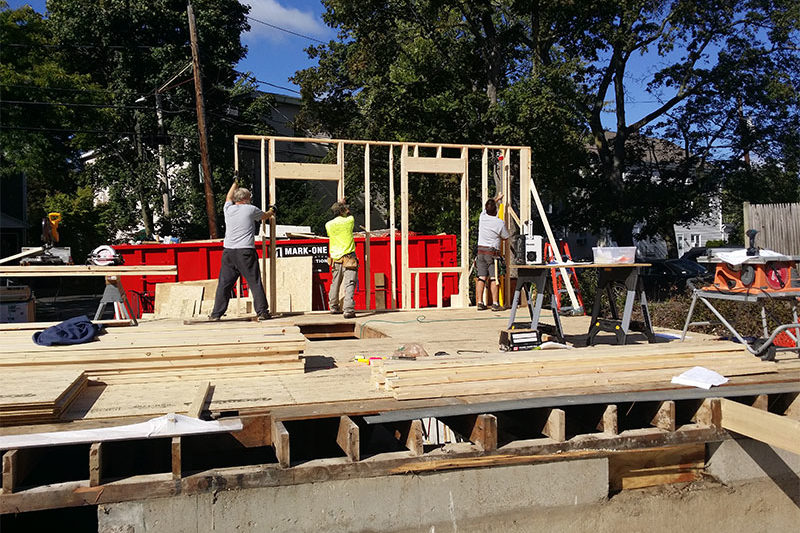
Underlayment of plywood has been placed down and our first framed wall is being erected.
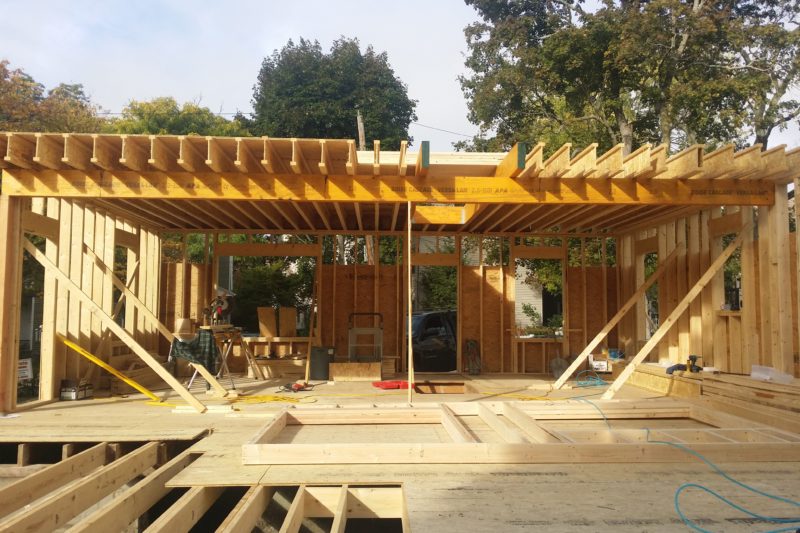
First floor begins to take shape as walls are framed and load-bearing beams and ceiling joists are put into place.
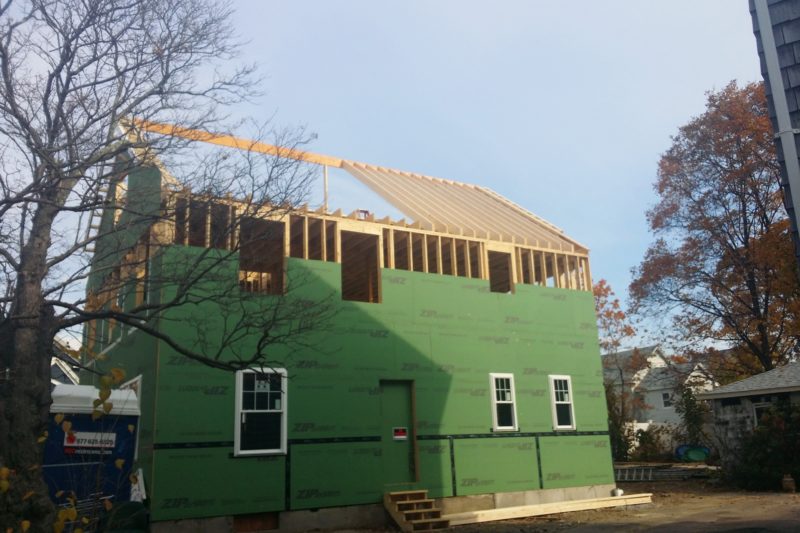
Progress being made with outer wall sheathing and attic rafters being installed.
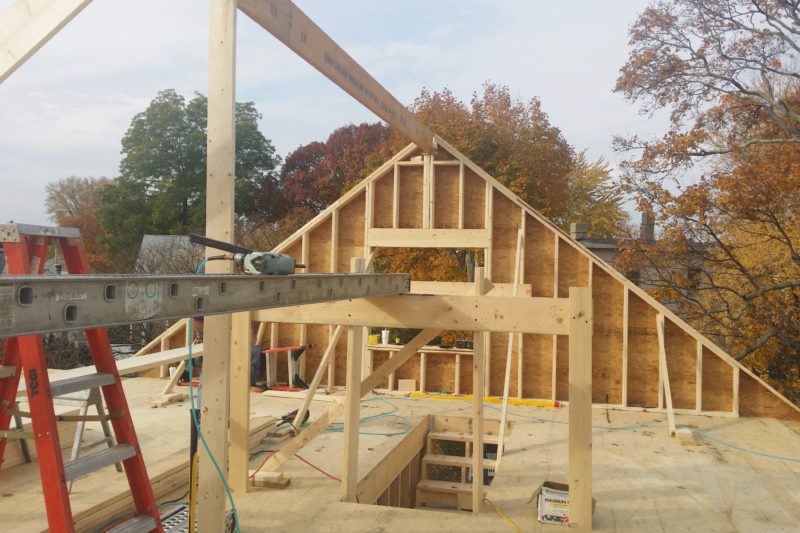
Attic ridge beam is secured.
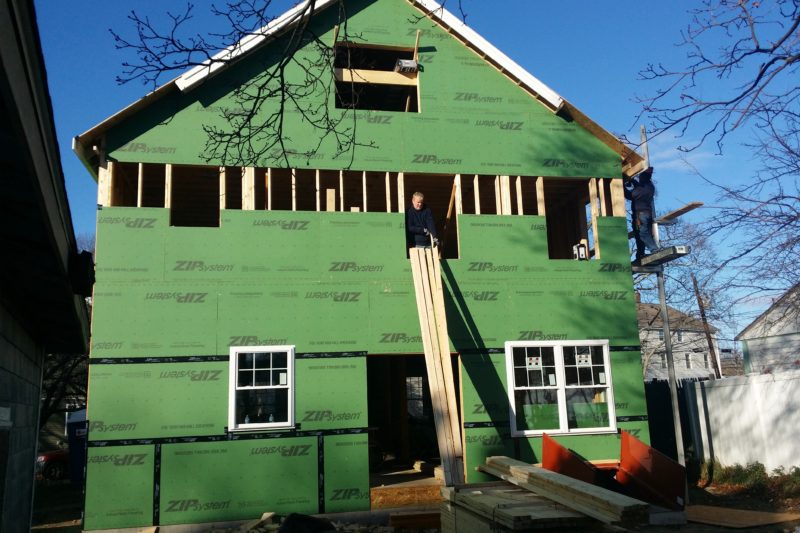
First floor windows are in. Materials are passed up through the second story window for storage out of the elements.
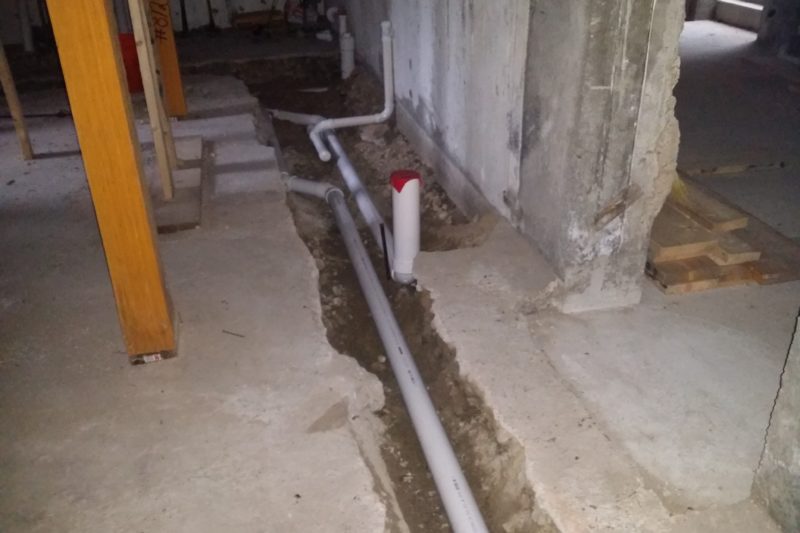
New plumbing lines have been dug and installed in the basement.
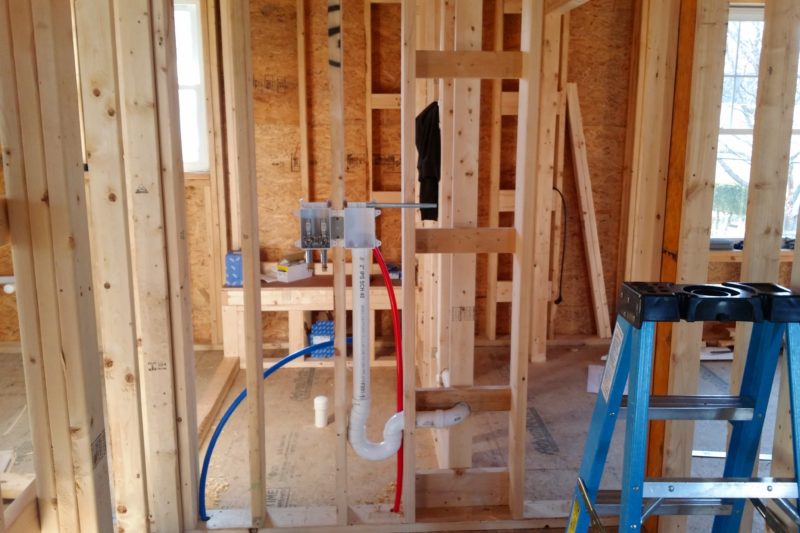
Plumbing lines for the second story washer/dryer closet are in place.
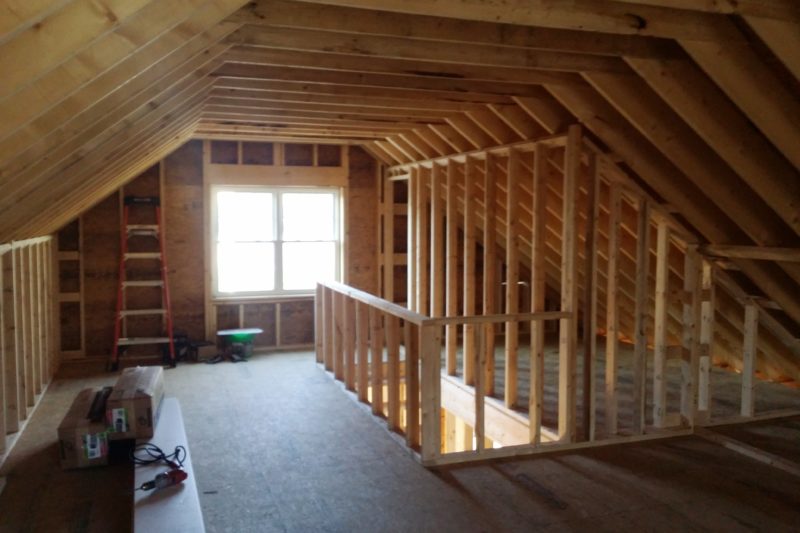
House is now enclosed. The walls and roof have been sheathed, windows are installed, and knee walls are being framed.
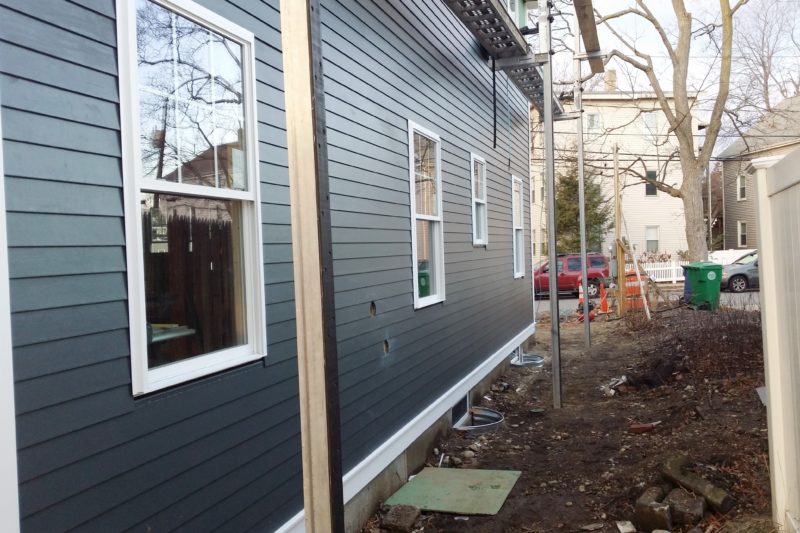
Fiber cement siding is being installed. It's a mix of wood pulp and cement but has the look of painted wood clapboards. It’s pre-finished, requires minimal upkeep, is termite-proof, and is unaffected by wind or cold.
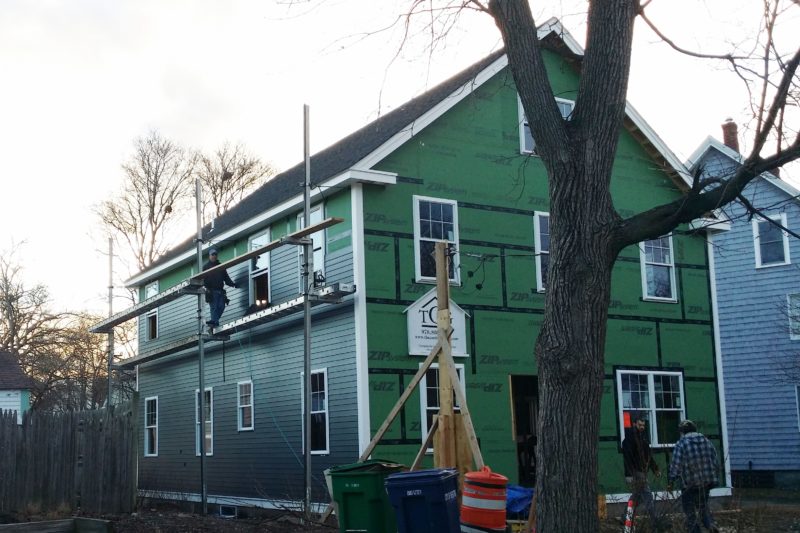
Another view of the siding being installed and also of the newly shingled roof.

Our electrician running wiring through the framing.

Spray foam has been applied. Spray foam insulation offers superior thermal protection and reduced energy costs over traditional fiberglass. We highly recommend spray foam for use in most of our projects.
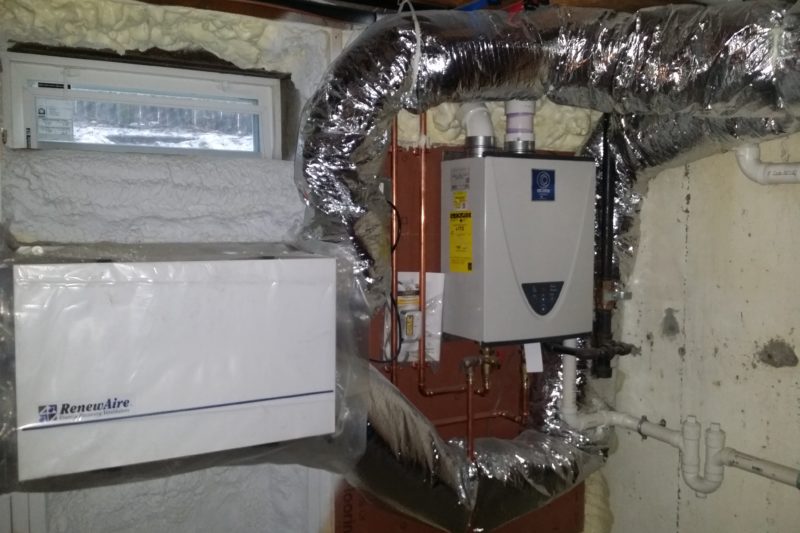
Heating system with fire-retardant foam.
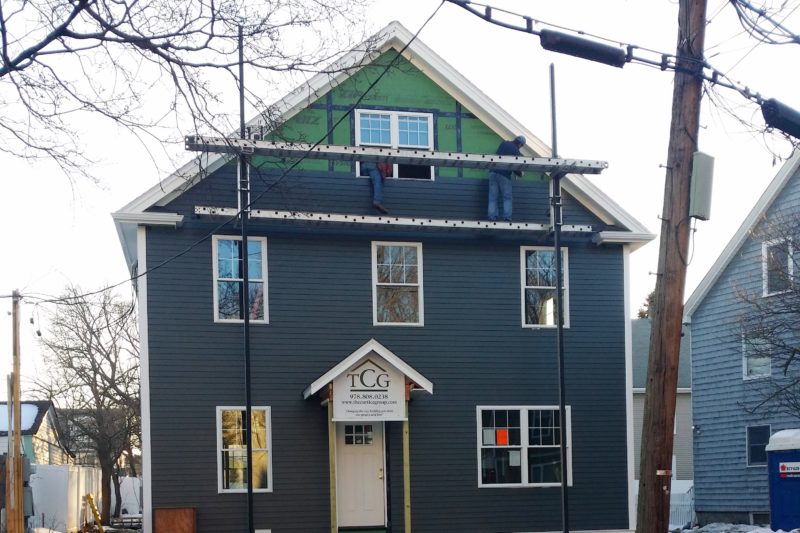
Fascia, soffit, and the remaining siding are installed.
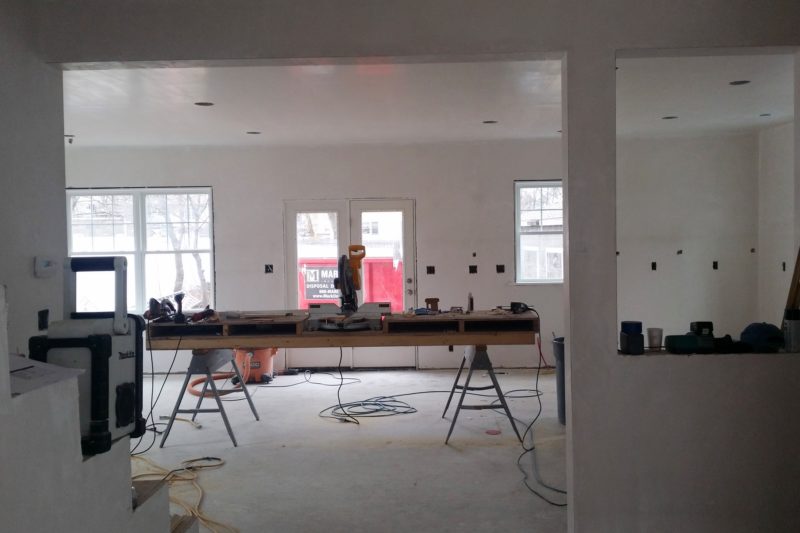
Interior walls and ceiling have been plastered.
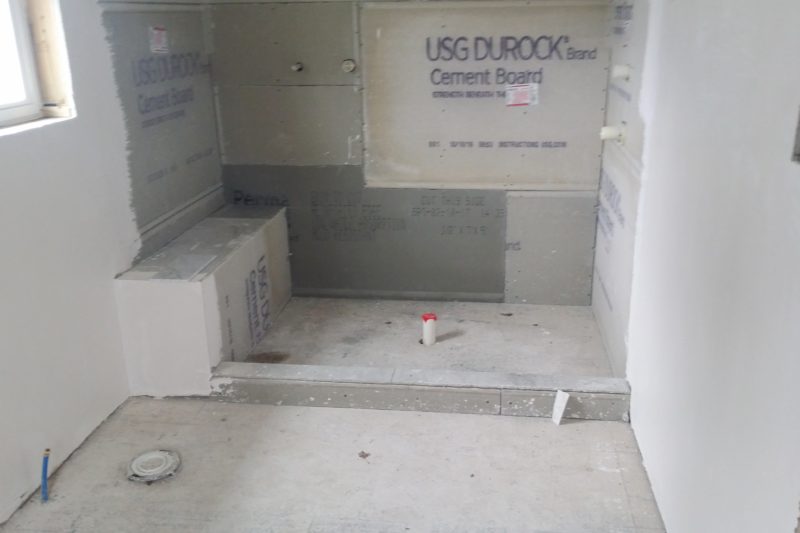
A view of the master bath, recently plastered, and awaiting tile work.
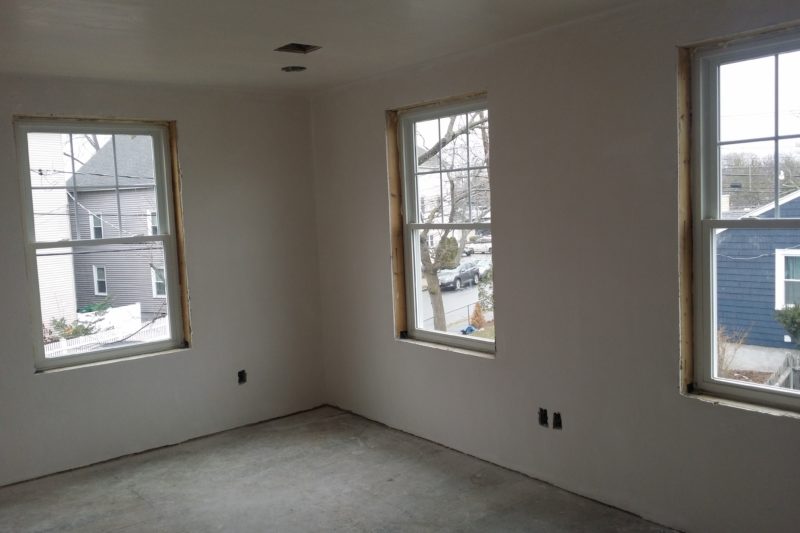
2nd floor walls boarded and plastered
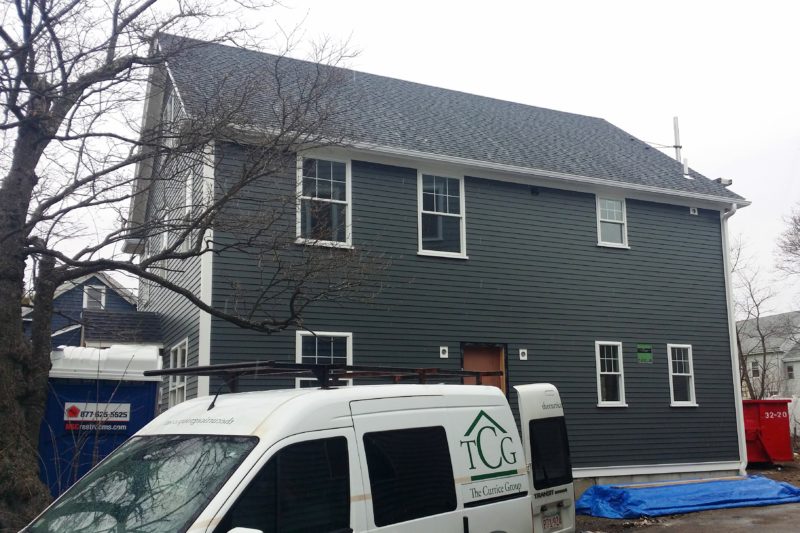
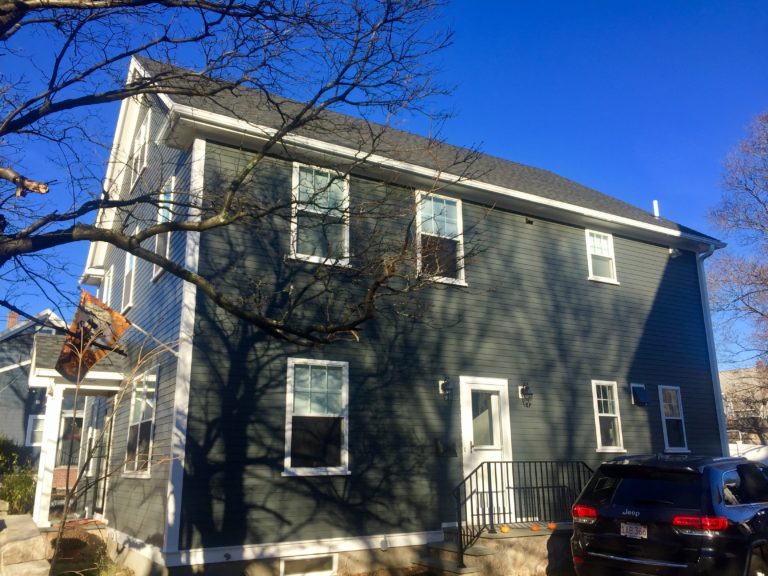
Excellent view of finished siding, roof, soffit, and fascia.
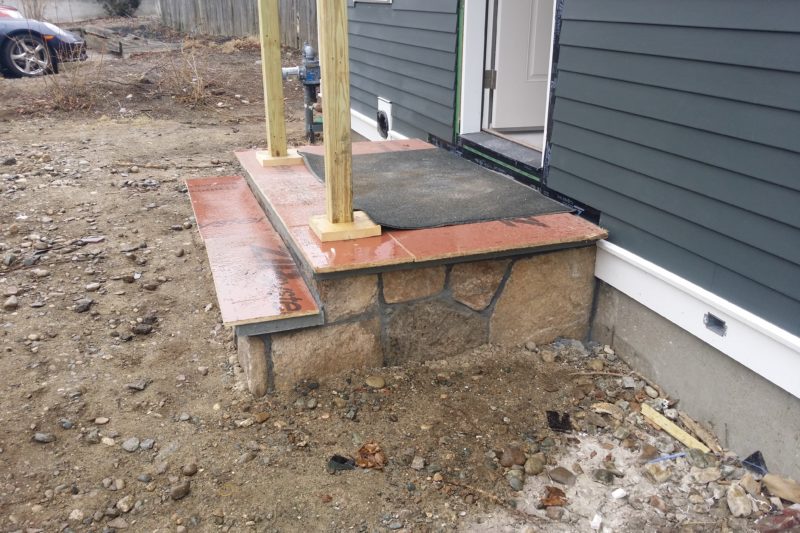
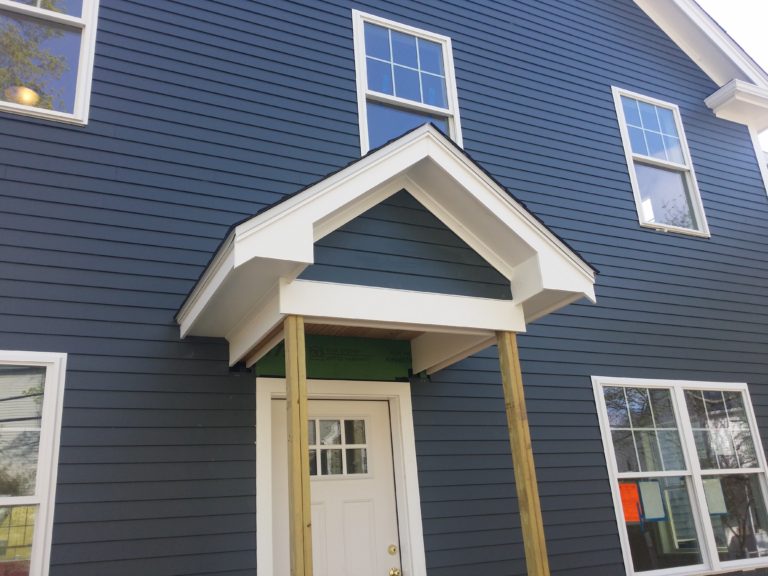
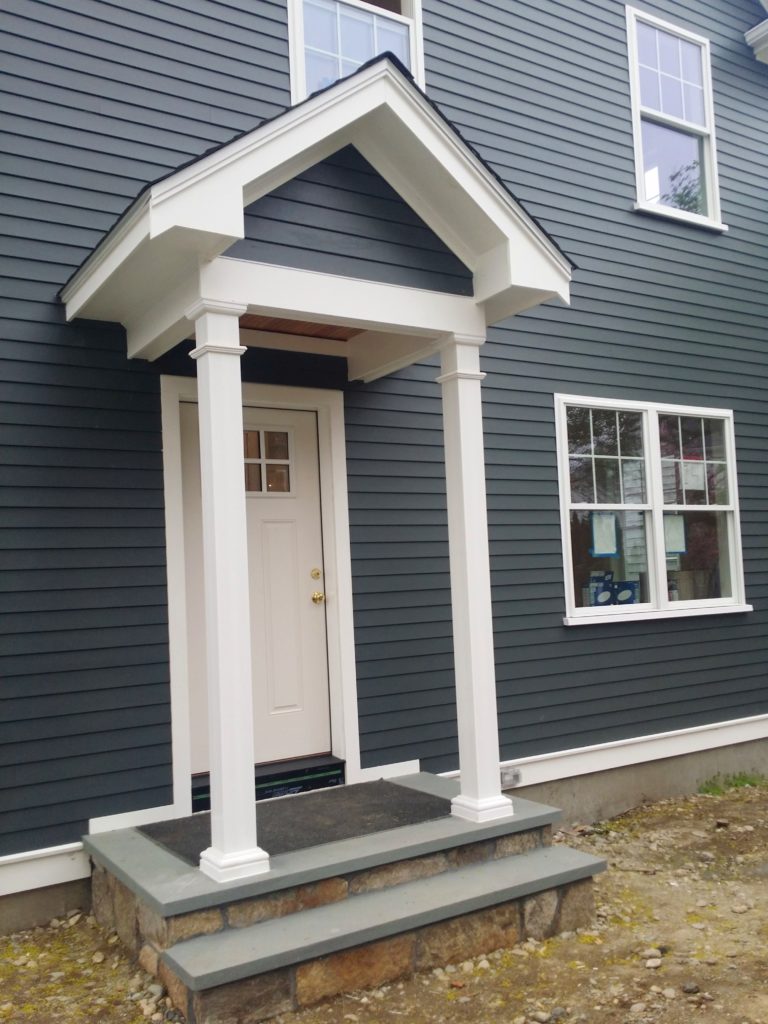
Porch of front entrance takes shape.
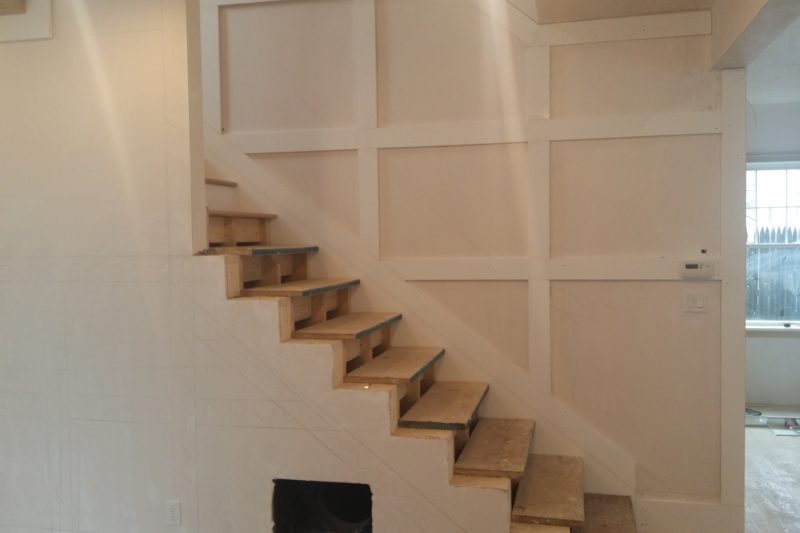
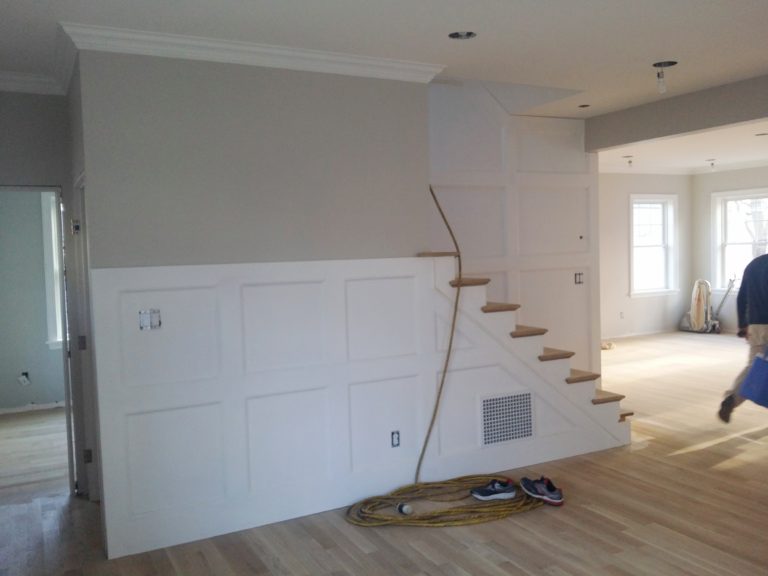
Stairs with decorative wall paneling open into kitchen and living area.
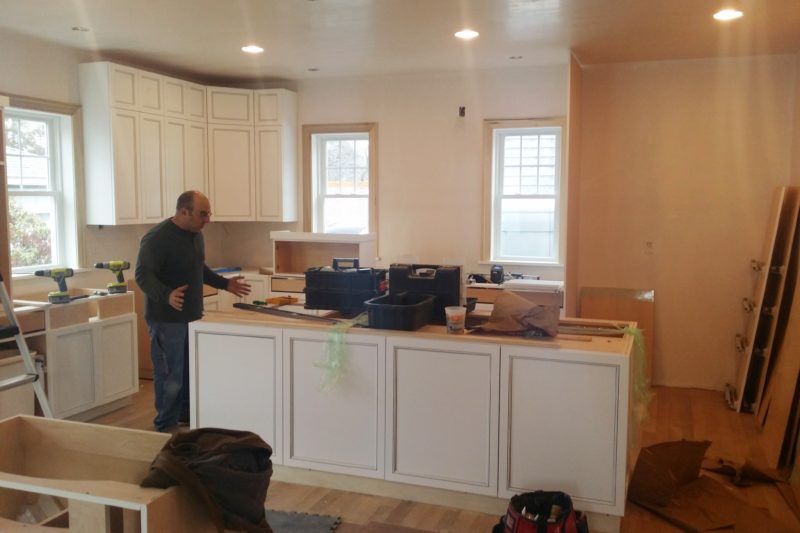
View of kitchen with lighting and cabinets being installed.
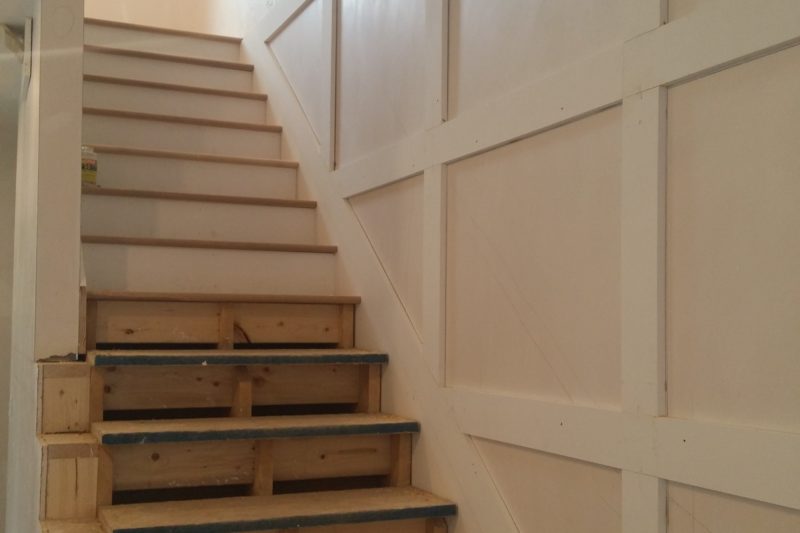
Another shot of the decorative wall paneling and finished risers and treads in progress.
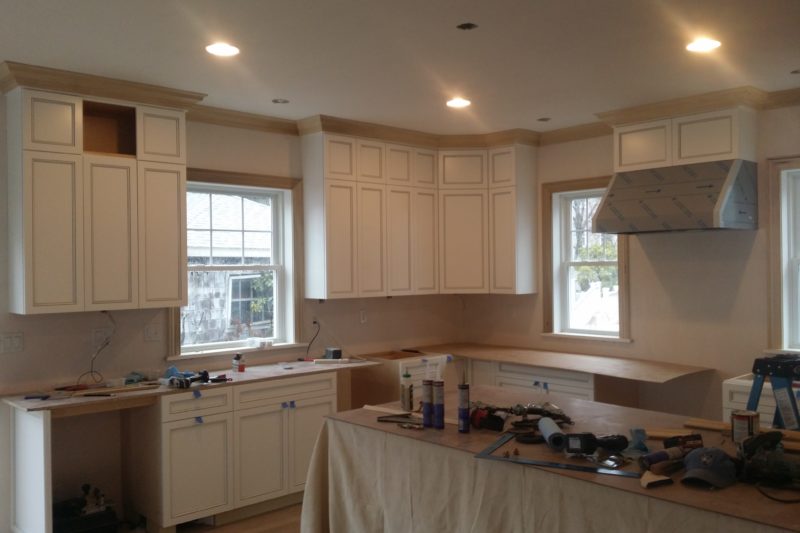
Base and overhead kitchen cabinets in place.
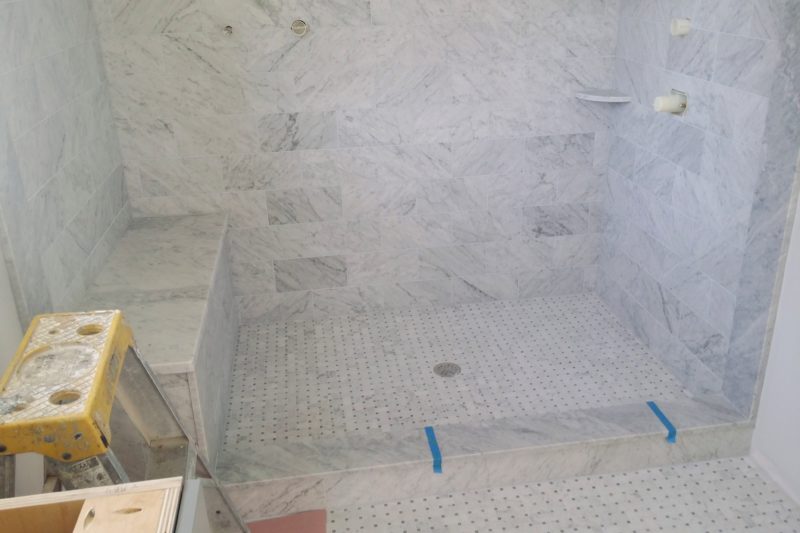
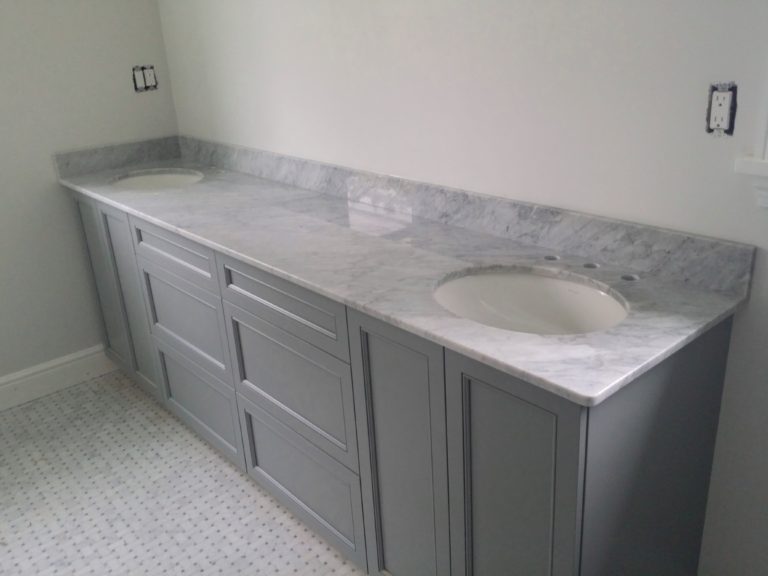
In-progress view of master bath and exceptional tile work being done.
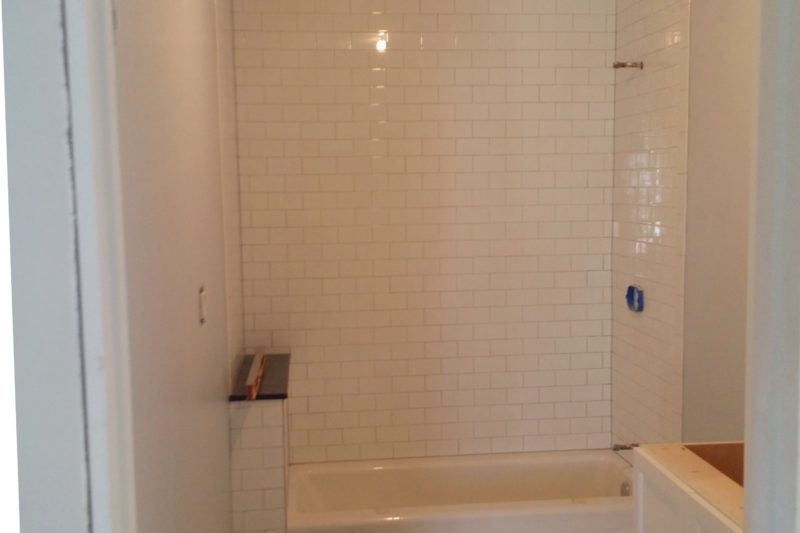
Kid’s bath and recently installed tile.
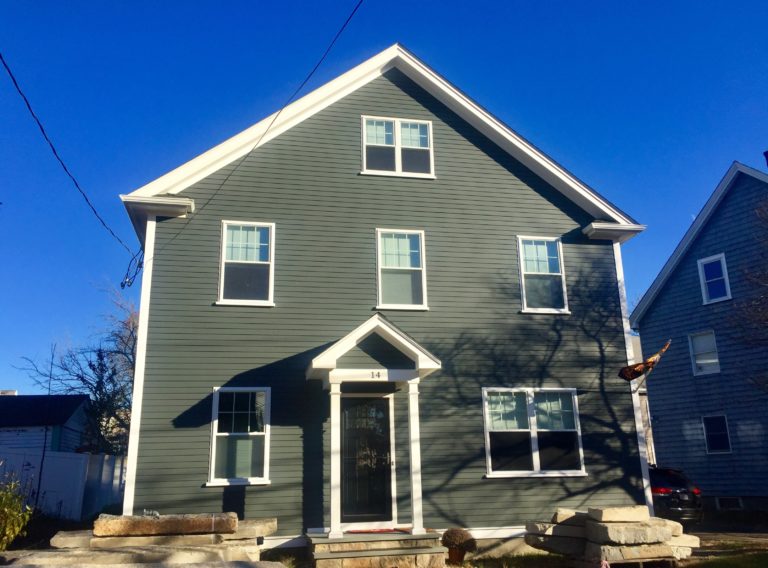
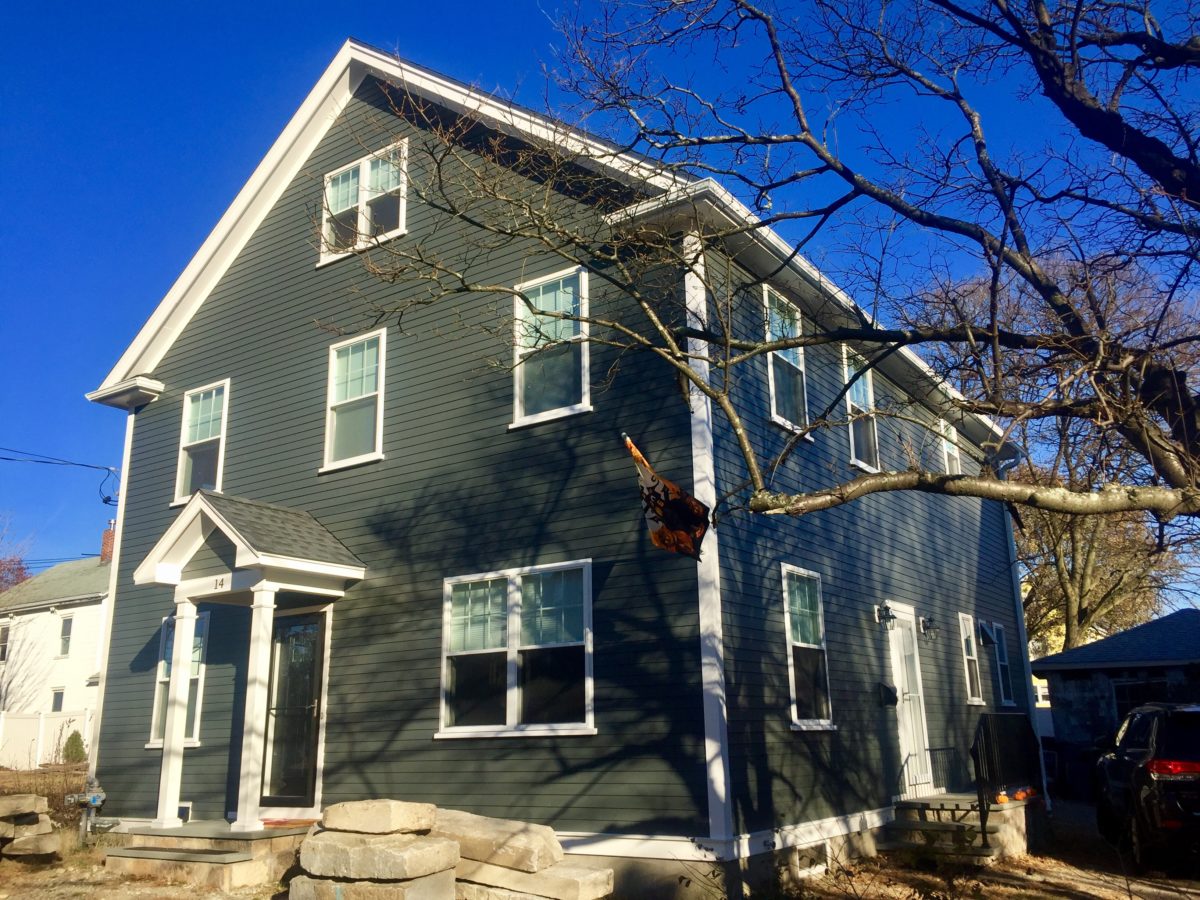
Finished Project
